

Analytics Dashboard
Segments
Create and apply segments in Swetrix to compare groups of visitors and focus your analytics on relevant traffic and behaviour.
Segments (also known as Saved Views) allow you to save a specific configuration of filters and custom metrics for quick access. Instead of manually reapplying the same filters every time you visit your dashboard, you can simply switch to a saved Segment.
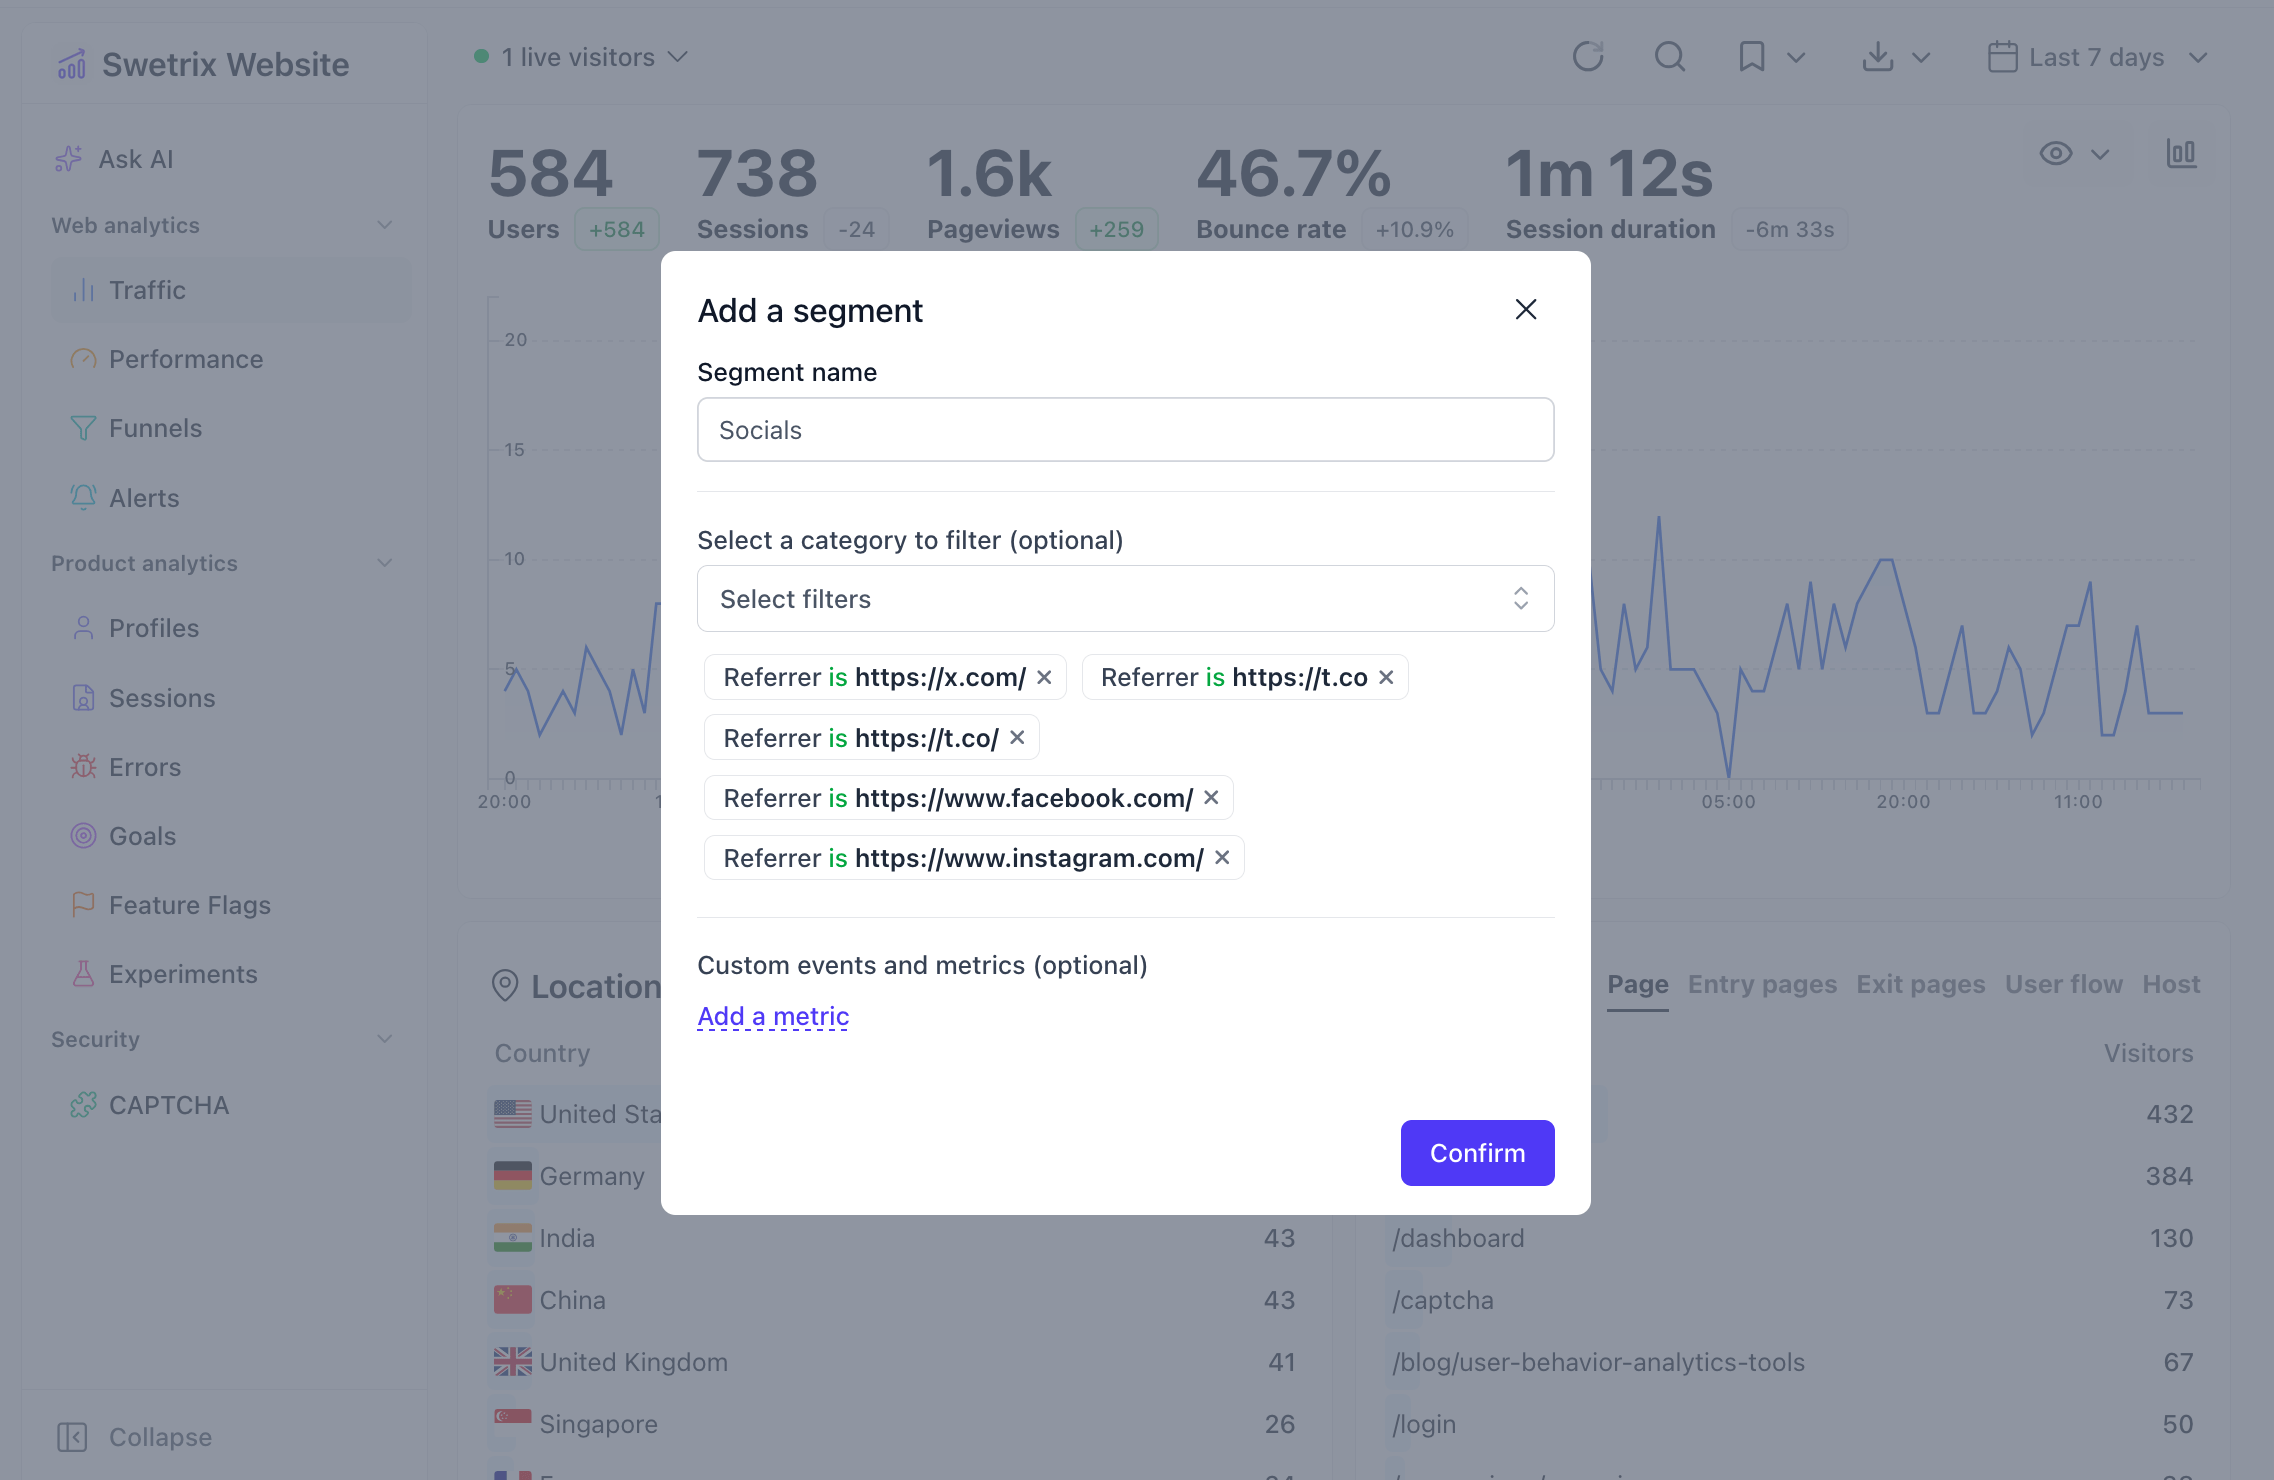
Creating a Segment
- Apply Filters: Set up the dashboard exactly how you want it. This includes:
- Date ranges and time buckets.
- Specific filters (e.g., Country = USA, Browser = Chrome).
- Selected metrics on the chart.
- Open Segments Menu: Click on the Segments dropdown (bookmark icon) in the top right header.
- Add Segment: Select Add a segment.
- Name It: Give your segment a descriptive name (e.g., "US Mobile Traffic").
- Save: Confirm to save your current view.
Using a Segment
To switch to a saved segment:
- Click the Segments dropdown.
- Select the segment you wish to view from the list.
- The dashboard will immediately update to reflect the saved configuration.
Managing Segments
You can manage your segments directly from the dropdown menu:
- Edit: Click the pencil icon next to a segment to rename it or update its configuration.
- Delete: Click the trash icon to remove a segment you no longer need.

Help us improve Swetrix
Was this page helpful to you?