- Date
How to Trace a URL Redirect Chain
 Andrii Romasiun
A link click can lead straight to its destination, but marketing links, shortened URLs, and moved pages may pass through intermediate addresses first. Tracing a URL means following HTTP redirects from the starting address, hop by hop, to the destination. You trace a URL to inspect those steps, check the status codes, verify the final landing page, and confirm that your tracking parameters remain intact.
The Mechanics of URL Tracing
When a browser requests a web page, the server might not return the HTML document immediately. For an HTTP redirect, the server returns a 3xx response with a Location header identifying another address. The browser typically follows that instruction by sending a new request to that address, so the intermediate steps remain mostly invisible to the person clicking the link. RFC 9110 defines how HTTP redirects use the status code and Location header to direct clients.
A diagnostic trace exposes that hidden path. The tool requests the starting URL, reads the response headers, and records the status code and any Location target. It repeats this process for each redirect and stops when the server returns a non-redirect response or the trace encounters an error.
Network routing tools perform a different function. When you run a network traceroute or trace an IP address, you examine the sequence of routers packets pass through on the way to a destination. An HTTP redirect trace operates at the application layer, examining how web servers instruct clients to request different web addresses. It also differs from web analytics, which records visitor activity rather than the redirects that lead to a page.
You might use redirect tracing to verify that old article URLs, affiliate links, and shortened links still point to active content. It also helps audit domain migrations, enforce HTTP-to-HTTPS rules, and ensure campaign landing pages resolve correctly. Technical teams rely on tracing utilities to diagnose broken client links before escalating issues to developers.
Swetrix offers a free Redirect Checker built specifically for this diagnostic phase. It maps the redirect path, documenting per-hop status codes and destinations so you can see how a server handles a link before a visitor interacts with it.
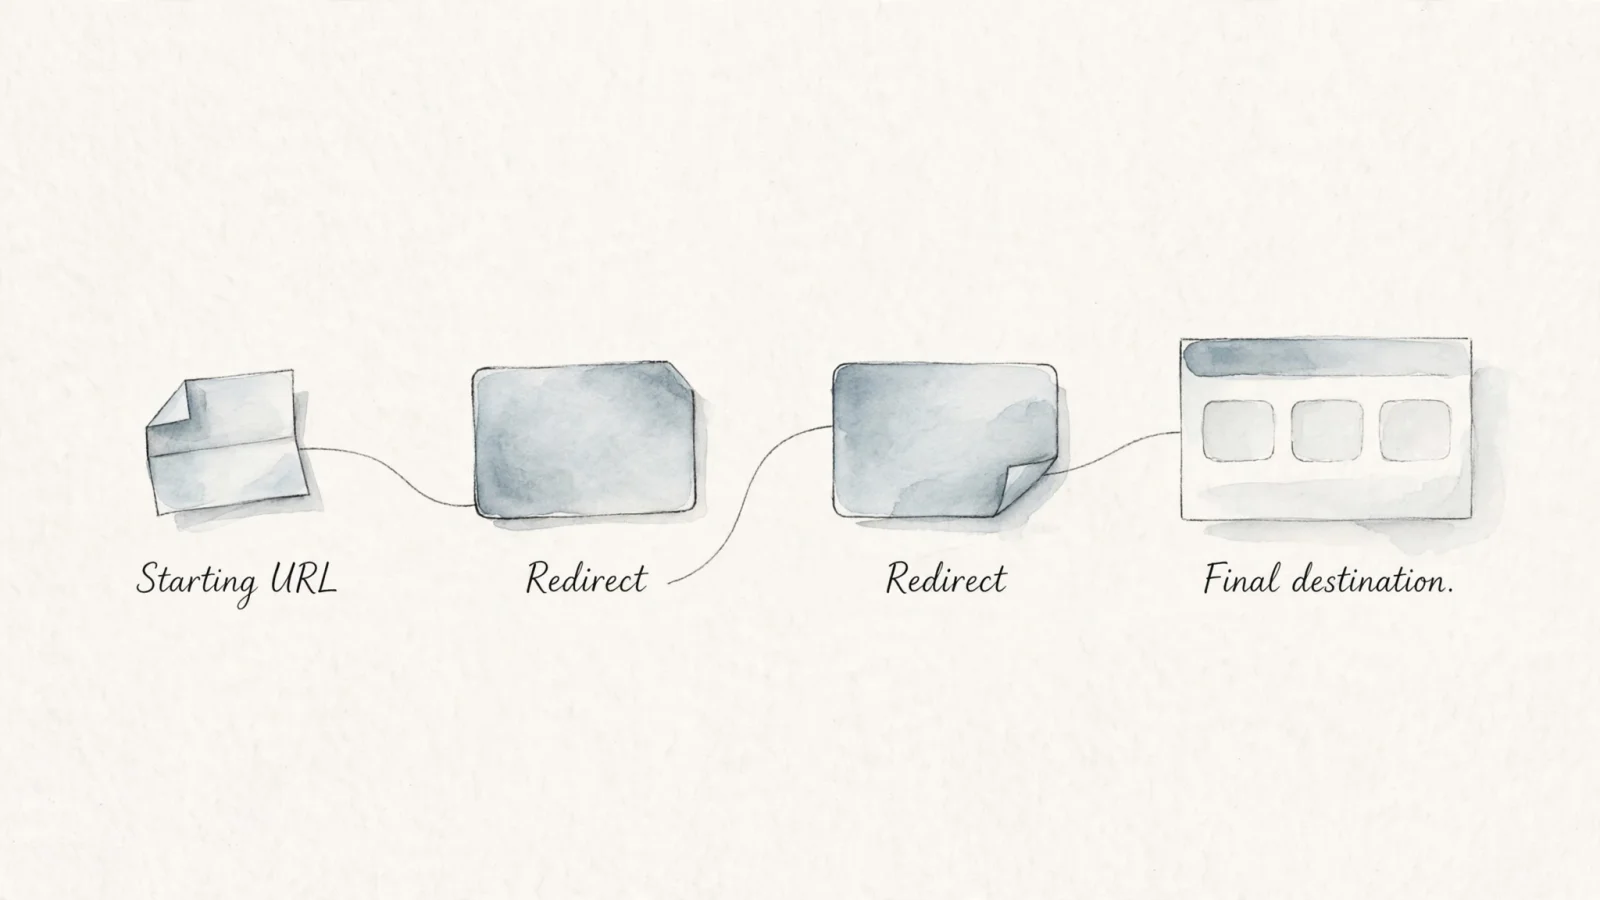
Tracing a URL Redirect Chain
A reliable diagnostic workflow requires checking the complete link, reviewing each response, and confirming the final result. Leaving out parts of the URL or stopping at the first status code will hide the actual routing behavior.
Start by entering the full URL into your tracing tool. Include the protocol scheme, whether that is http:// or https://, because servers may apply different redirect rules to secure and insecure requests. Include the exact path, any trailing slashes, and any campaign query strings. A missing trailing slash or a missing www prefix can trigger an immediate redirect, and providing the exact query string lets you see how the server handles your campaign tags.
Run the redirect check, and the tool will begin querying the server to list the responses in sequence. Review each status code and its corresponding next destination to check that the path is efficient. A well-configured link might use a single permanent redirect to point straight to the target page, while a more complicated path can pass through multiple temporary redirects, change subdomains, and alter the URL structure several times.
Confirm that the chain reaches the expected final page. Check that the final URL matches your intended landing page and that the response is appropriate for the resource. An HTML page commonly returns 200 OK, while an unexpected 404 Not Found, 500 server error, or redirect loop signals a problem.
While a standard HTTP trace provides a clear view of server-side routing, it carries limitations. A header-based trace does not execute JavaScript or inspect the HTML body for meta-refresh tags, so if a page uses one of these methods to forward visitors, the trace may report the initial HTTP response without revealing the client-side redirect. Trace tools also use a specific user agent, which means they might not reproduce every browser-specific path if the server applies cloaking rules, mobile-specific routing, or location-based redirects.
Reading Redirect Status Codes
Servers use different status codes to communicate the nature of a redirect. The code describes the HTTP response, giving the browser and search engine crawlers instructions on how to treat the old URL.
| Code | Plain-language meaning | Technical behavior |
|---|---|---|
| 301 | Permanent move | Indicates a lasting URL change. The browser should request the new URL for future visits. |
| 308 | Permanent move | Also permanent. Unlike a 301, a 308 requires the client to preserve the original request method. |
| 302 | Temporary move | Used when the move is temporary. Browsers should continue using the original URL for future requests. |
| 307 | Temporary move | Temporary and method-preserving. The client must keep the request method unchanged. |
| 303 | "See Other" | Points to a different resource. Commonly used to redirect a client after a POST action completes successfully. |
| 304 | "Not Modified" | A cache-validation response indicating the client's stored version remains fresh. It does not redirect to a new URL. |
The status code definitions in RFC 9110 distinguish these redirects, particularly by whether they preserve the request method. After a 301 or 302, a user agent may change a POST request to GET, so the redirected request may not repeat the original form submission. If the method must be preserved, 307 and 308 require the client to keep the original method. For a POST, that means the next request must also be a POST.
Google's crawler documentation on HTTP status codes says its systems use a 301 as a strong signal that the redirect target should be processed and a 302 as a weak signal. It treats 307 like 302 and 308 like 301, so inspect the exact status rather than assuming every 3xx response sends the same signal to Google.
Checking UTM Parameters at the Final Destination
UTM parameters identify the campaigns that refer traffic, and Google says their values are sent to Analytics when a user clicks a tagged link. To report that traffic, Google's campaign URL documentation recommends adding utm_source, utm_medium, and utm_campaign to destination URLs.
To verify parameter retention, trace the fully tagged URL. Inspect the query string after each hop and at the final destination. If the parameters vanish, the redirect rule or another URL-handling step is omitting them.
Consider an illustrative redirect path:
https://go.example.com/spring?utm_source=partner&utm_medium=referral
302 → https://www.example.com/spring?utm_source=partner&utm_medium=referral
200 → final landing page
In a properly configured setup, the expected destination and all campaign parameters remain present at the final landing page. Whether the query string carries over depends on the redirect rule. If the outgoing Location header omits it, the parameters will not reach the destination.
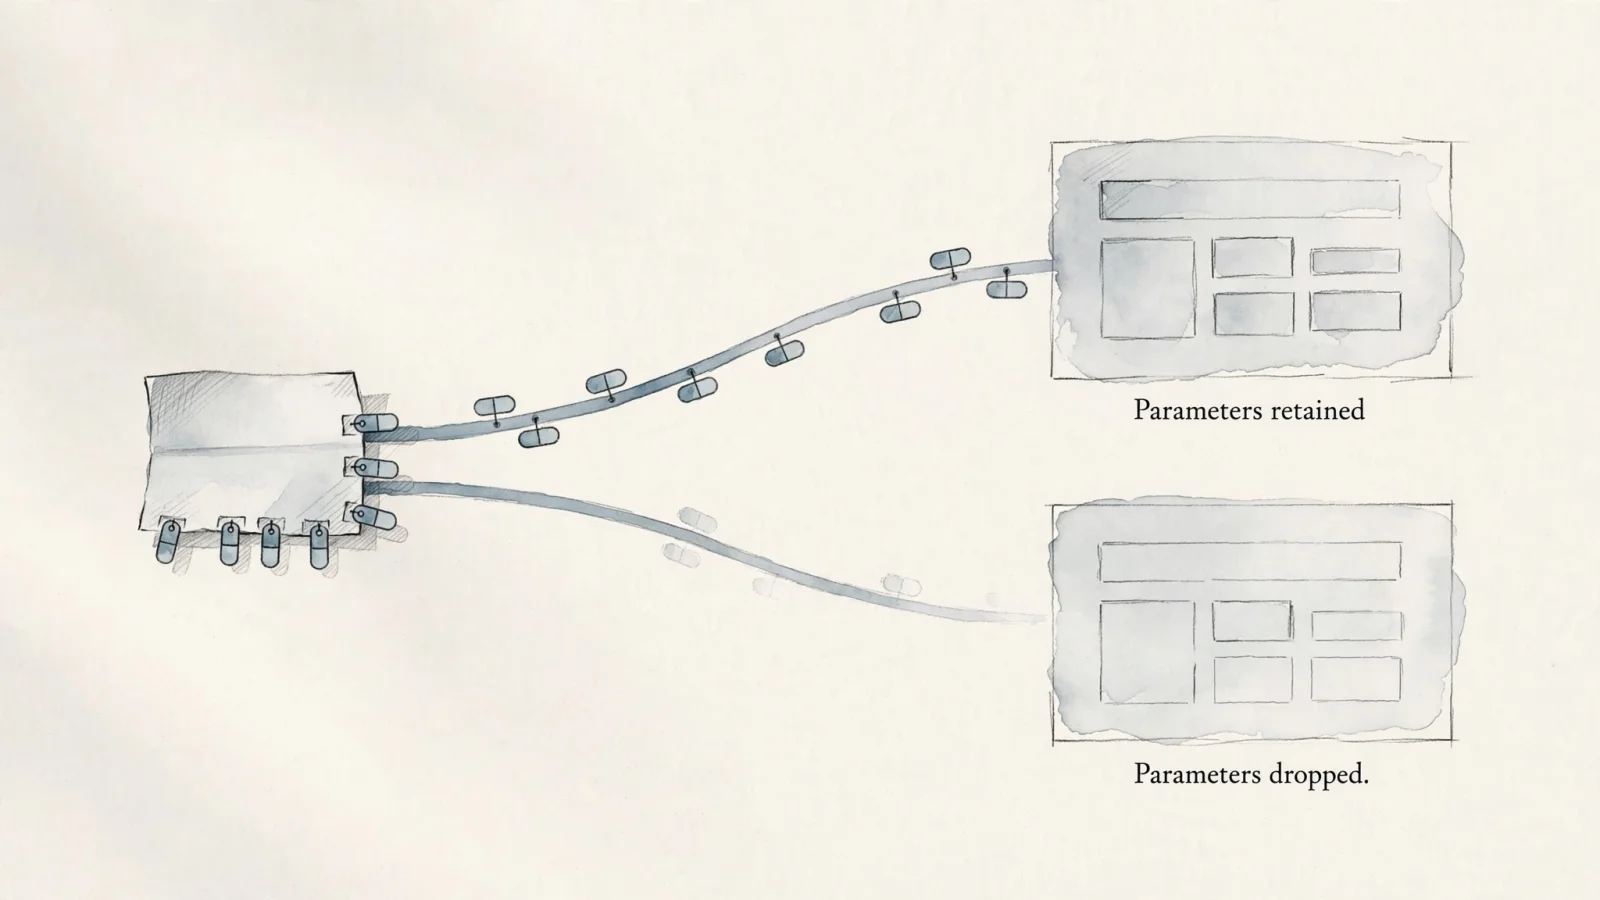
When campaign tags disappear, reports may lose the detail that distinguishes a paid campaign or newsletter from other visits, making marketing performance harder to assess.
This diagnostic work forms the bridge to accurate measurement. You use a redirect checker to diagnose the path and ensure the tags survive the journey, and once the visitor lands on the final page with the query string intact, you rely on a separate analytics platform to record the visit.
Transitioning to a cookieless alternative to Google Analytics like Swetrix gives you privacy-first measurement without sacrificing granular product data. A redirect tool helps confirm that traffic arrives with the intended URL parameters, and Swetrix processes that data to populate conversion funnels, session replays, and custom event tracking. Tracing HTTP redirects and measuring website traffic remain distinct tasks requiring different tools.
Evaluating Redirect Chain Length
Long chains can fail if a crawler reaches its redirect limit, and Google's crawler documentation says its crawlers follow up to 10 redirect hops by default, though limits can differ across Google's tools. This figure describes Google's crawling behavior, not a recommended chain length, so send users and crawlers directly to the final destination whenever possible.
Each redirect requires another request-response exchange, so a long chain adds delay. A redirect to a host the client has not recently connected to may also require a DNS lookup and connection setup, though caches and connection reuse can reduce that overhead. The exact cost varies with the network and client.
Long chains also introduce compatibility risks. Some clients stop following redirects after a set limit, so a path that works in one client might fail in another. The HTTP specification notes that clients may implement fixed redirect limits, so keeping the path short can help avoid that problem across browsers, apps, and API clients.
Fixing Redirect Loops and Wrong Destinations
When a trace reveals a problem, you can usually resolve it by updating server configurations or editing site content. The most disruptive error is a redirect loop, where Page A redirects to Page B, and Page B redirects back to Page A. Browsers and other clients should detect cyclical redirects and stop following them, as RFC 9110 recommends. You can find repeated URLs in the trace output and correct the conflicting server rules to break the loop. Running a broken link checker regularly helps flag failed links and unexpected redirects before visitors encounter them.
You should also flatten long chains by removing unnecessary intermediate hops. If an old URL points to a middle page that redirects to a final destination, update the original rule so the old URL points directly to the final relevant destination. This removes the middle step entirely, reducing latency and simplifying the server configuration.
Where practical, bypass redirects altogether by updating internal links. A site migration can leave outdated URLs embedded in blog posts and navigation menus, and relying on server redirects to handle internal traffic adds unnecessary load. Use an internal link analyzer to locate those outdated URLs within your content, then edit the HTML to point straight to the new addresses.
For a full site move, create an accurate old-to-new URL mapping and monitor both sets of URLs during the transition. Google's site-migration guidance recommends mapping old URLs to corresponding new URLs and monitoring both sites, and flags redirects to incorrect, non-existent URLs as a common migration mistake. So point each old URL to its closest equivalent, and return a 404 or 410 when no replacement exists.
Finally, a 301 does not inherently leak link equity. Google's migration guidance confirms that permanent redirects do not cause a loss of PageRank, so you can reorganize your URL structure while keeping destinations relevant.
A clear, efficient redirect path helps preserve relevant SEO signals, sends visitors to the intended page, and protects attribution data. Trace your URLs with Swetrix's free Redirect Checker to review redirect chains and confirm that UTM parameters reach the destination, then measure your campaign performance in Swetrix's privacy-first analytics platform.
Ready to see exactly where your traffic comes from? Trace your links to verify the destination, then use Swetrix to measure your campaigns with cookieless analytics.